 |
| |
|
| |
 |
 |
 |
 |
 |
 |
 |
 |
| |
Bench Type Hardness Testers |
|
 |
 |
 |
 |
 |
|
|
| |
|
|
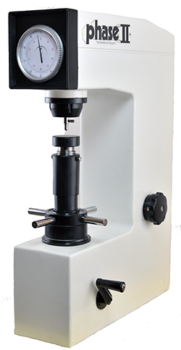 |
| ROCKWELL HARDNESS TESTER |
| 900-331 |
|
 |
|
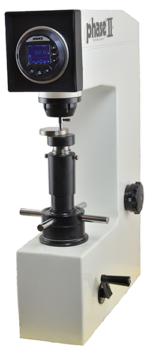 |
| DIGITAL ROCKWELL HARDNESS TESTER |
| 900-331D |
|
 |
|
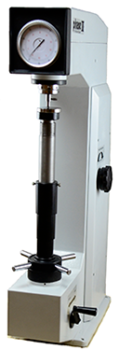 |
| TALL FRAME ROCKWELL HARDNESS TESTER |
| 900-332 |
|
 |
|
| |
|
|
 |
| SUPERFICIAL ROCKWELL HARDNESS TESTER |
| 900-345 |
|
 |
|
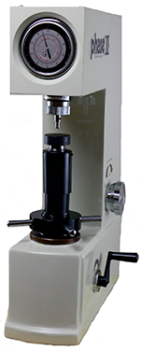 |
| TWIN ROCKWELL/SUPERFICIAL ROCKWELL HARDNESS TESTER |
| 900-375 |
|
 |
|
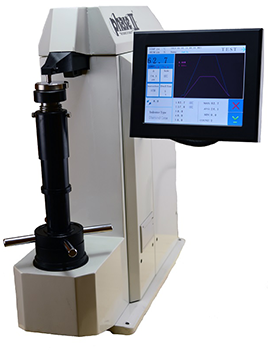 |
| Digital Rockwell Hardness Tester |
| 900-367 |
|
 |
|
| |
|
|
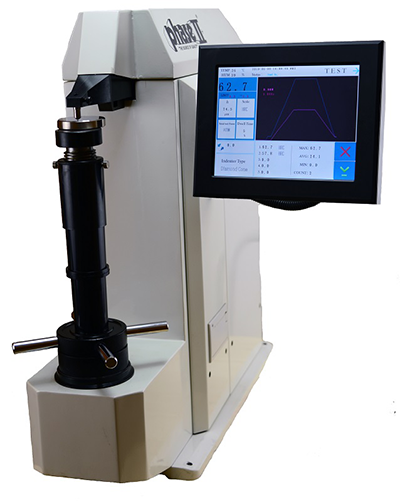 |
| Digital Superficial Rockwell Hardness Tester |
| 900-346 |
|
 |
|
 |
| DIGITAL ROCKWELL/SUPERFICIAL ROCKWELL HARDNESS TESTER |
| 900-387 |
|
 |
|
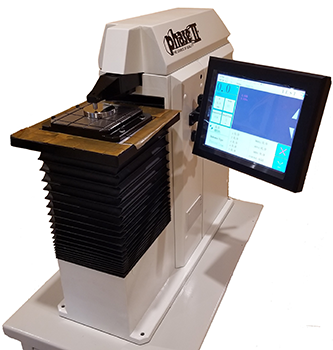 |
| Fully Automated Rockwell/Superficial
Rockwell Hardness Tester |
| 900-389 |
|
 |
|
| |
|
|
| |
|
|
| |
|
|
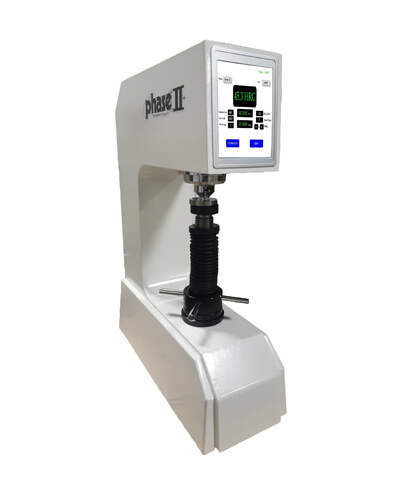 |
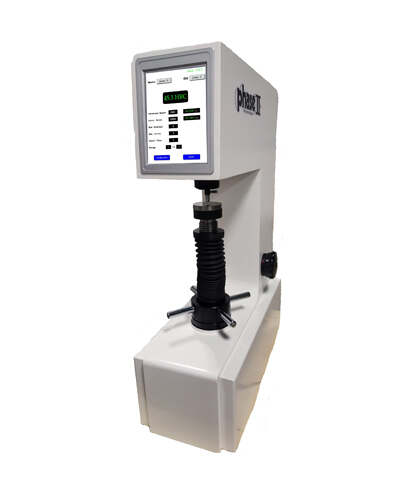
| DIGITAL ROCKWELL HARDNESS TESTER |
| 900-410 |
|
 |
|
 |
| DIGITAL ROCKWELL HARDNESS TESTER |
| 900-415 |
|
 |
|
 |
| Superficial Rockwell Hardness Tester |
| 900-420 |
|
 |
|
| |
|
|
 |
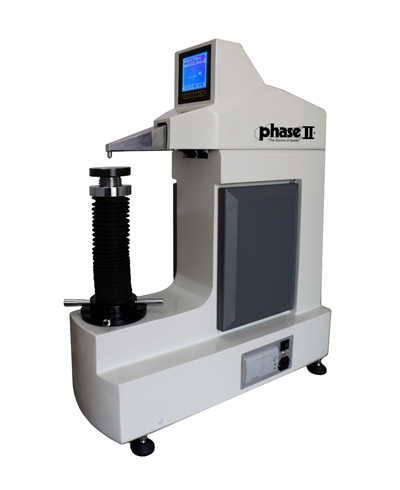
| Digital TWIN Rockwell/Superficial Rockwell Hardness Tester |
| 900-440 |
|
 |
|
 |
| DIGITAL ROCKWELL/SUPERFICIAL ROCKWELL HARDNESS TESTER |
| 900-384 |
|
 |
|
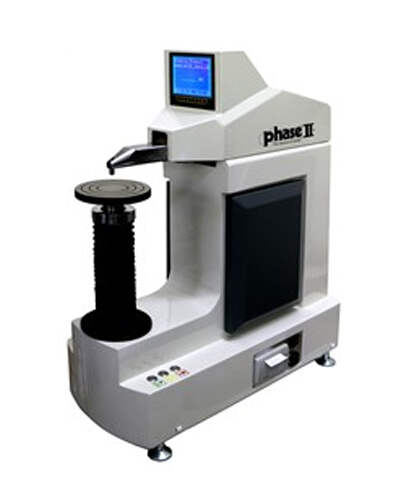 |
| FULLY AUTOMATIC UNIVERSAL HARDNESS TESTER |
| 900-450 |
|
 |
|
| |
|
|
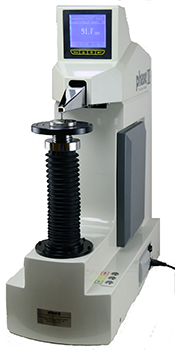 |
| FULLY AUTOMATIC ROCKWELL HARDNESS TESTER |
| 900-388 |
|
 |
|
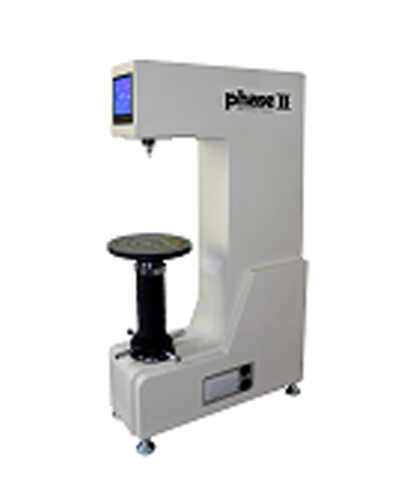 |
| SUPERFICIAL ROCKWELL HARDNESS TESTER TALLBOY |
| 900-349 |
|
 |
|
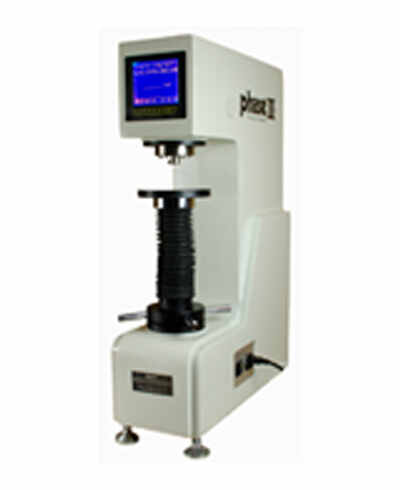 |
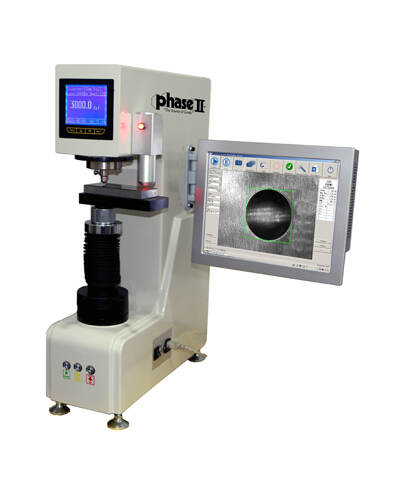
| Digital Brinell Hardness Tester |
| 900-355 |
|
 |
|
| |
|
|
 |
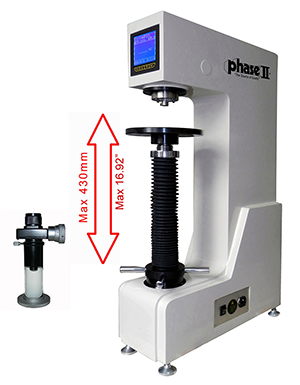
| AUTOMATIC Brinell Hardness Tester w/Auto Z Axis! |
| 900-359 |
|
 |
|
 |
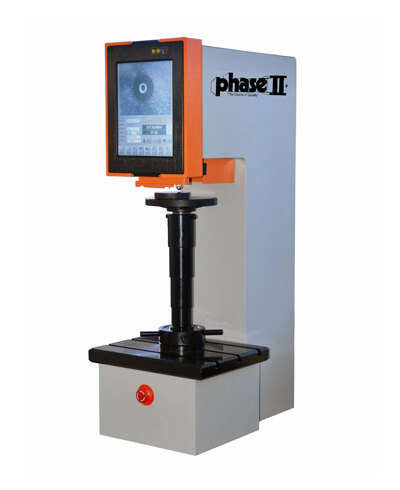
| Digital Motorized Brinell Hardness Tester TALL BOY |
| 900-356 |
|
 |
|
 |
| NEW! BRINELL Hardness Tester |
| 900-357 |
|
 |
|
| |
|
|
|
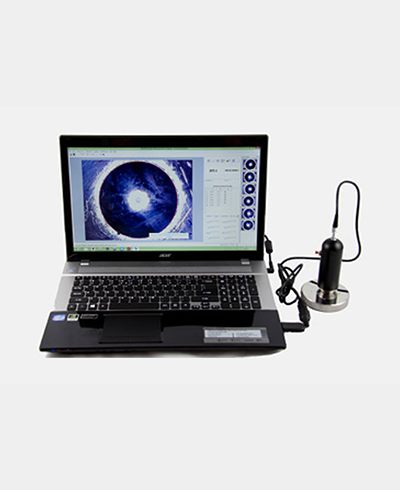
| NEW! Optical Brinell Video Measurement System |
| PHT-5000 |
|
 |
|
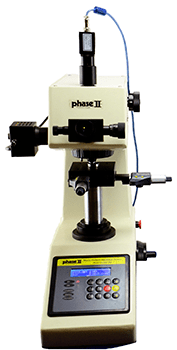
|
| Micro Vickers Hardness Tester w/ Video Cam, Adaptor and Software |
| 900-390 |
|
 |
|

|
| Micro Vickers Hardness Tester w/ Auto-Turret w/ Video Cam, Adaptor and Software |
| 900-391 |
|
 |
|
| |
|
|
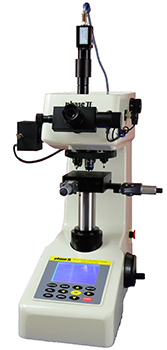 |
| Micro Vickers Hardness Tester / Knoop Hardness Tester - Dual Penetrator Series |
| 900-392 |
|
 |
|
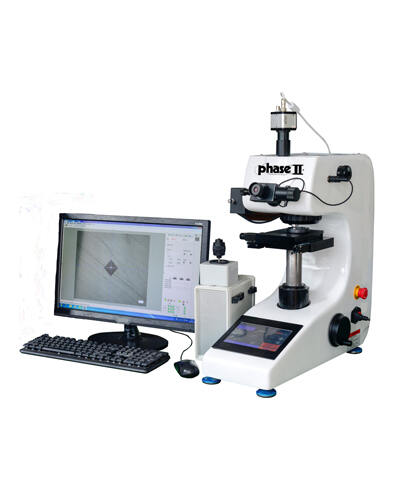
|
| Fully Automated Micro Vickers Hardness Tester - w/Automatic Measurement Software |
| 900-505 |
|
 |
|
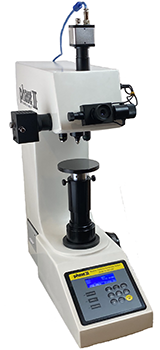
|
| Macro Vickers Hardness Tester w/ Auto-Turret w/ Video Cam, Adaptor and Software |
| 900-398 |
|
 |
|
| |
|
|
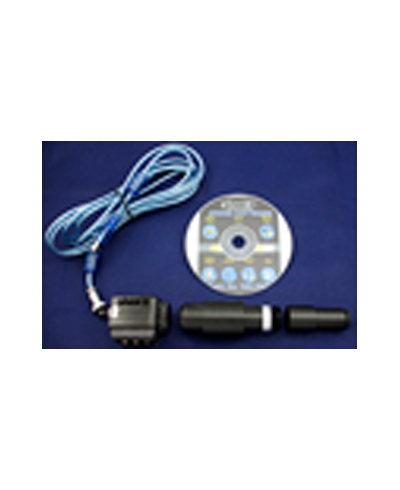
|
| Measurement Software Packages For Micro and Macro Vickers Hardness Testers |
|
 |
|
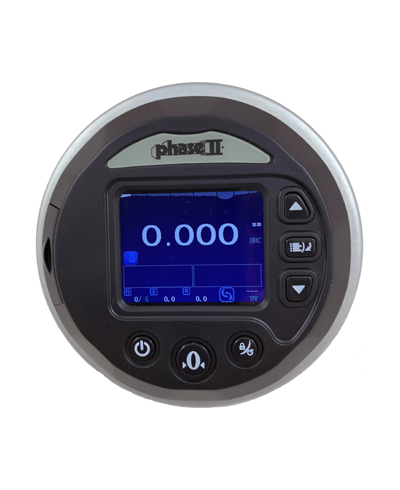
|
| DIGITAL HARDNESS INDICATOR UPGRADE |
|
 |
|
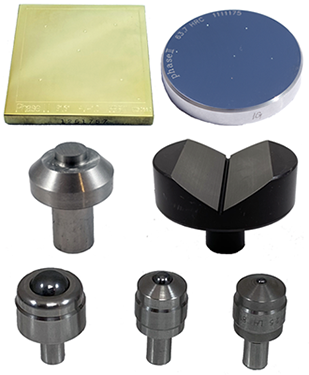
|
| Hardness Test Blocks and Accessories |
|
 |
|
| |
|
|
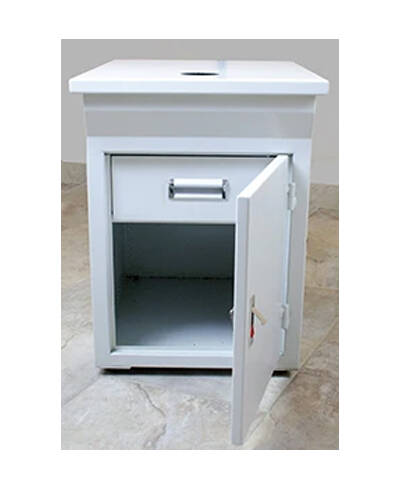 |
| Hardness Tester Stand |
|
 |
|
| |
|
|
 |
 |
 |
 |
 |
 |
 |
 |
| |
Portable Hardness Testers |
|
 |
 |
 |
 |
 |
|
|
| |
|
|
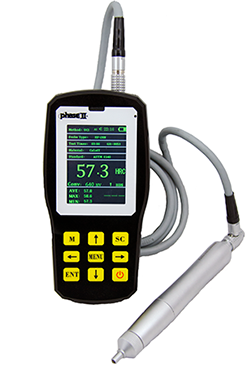 |
PHT-6000 SERIES
ULTRASONIC PORTABLE HARDNESS TESTER |
|
 |
|
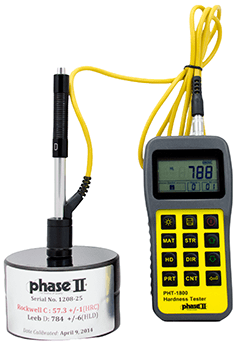 |
PHT-1800
Portable Hardness Tester |
|
 |
|
| |
|
|
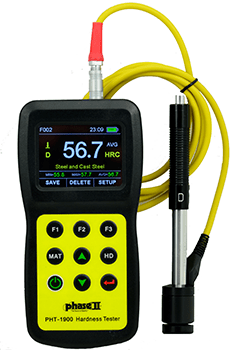 |
PHT-1900
PORTABLE HARDNESS TESTER WITH COLOR SCREEN |
| |
|
 |
|
 |
PHT-2100
RUGGED HARDNESS TESTER |
|
 |
|
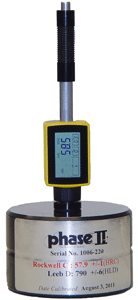 |
PHT-3300
Mini-Integrated Portable Hardness Tester |
| |
|
 |
|
| |
|
|
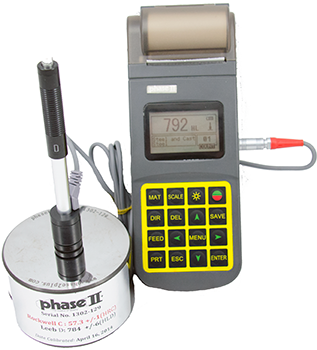 |
PHT-3500
Portable Hardness Tester w/ Printer |
|
 |
|
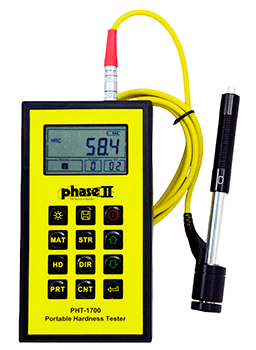 |
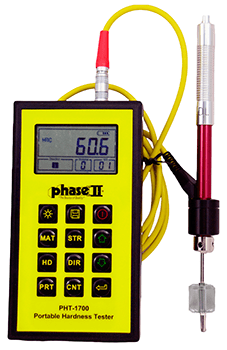
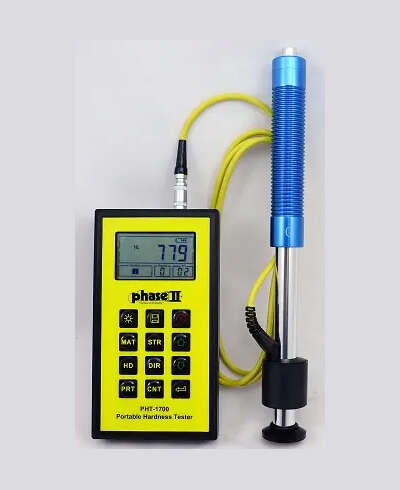
PHT-1700
Economic Portable Hardness Tester |
|
 |
|
| |
| |
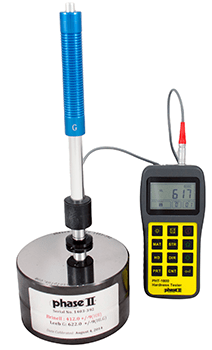 |
PHT-1850
Portable Hardness Tester for cast/rough parts |
|
 |
|
| |
|
|
| |
| |
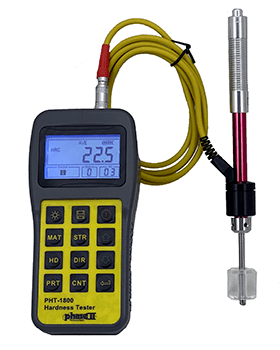 |
PHT-1840
Gear Teeth Portable Hardness Tester |
|
 |
|
 |
PHT-1740
Gear Teeth Portable Hardness Tester |
|
 |
|
| |
| |
 |
PHT-1750
Portable Hardness Tester for cast/rough surface parts |
|
 |
|
| |
|
|
| |
| |
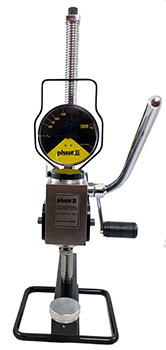 |
PHT-5050
Portable Brinell Hardness Tester |
|
 |
|
| |
| |
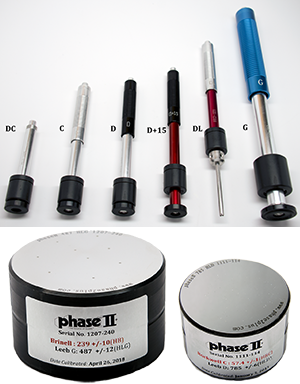 |
Accessories
For Portable Hardness Testers |
|
 |
|
| |
|
|
| Principle of Rockwell hardness testing |
The Rockwell hardness test is one of several common indentation hardness tests used today, other examples being the Brinell hardness test and Vickers hardness test. Most indentation hardness tests are a measure of the deformation that occurs when the material under test is penetrated with a specific type of indenter . In the case of the Rockwell hardness test, two levels of force are applied to the indenter at specified rates and with specific dwell times. Unlike the Brinell and Vickers tests, where the size of the indentation is measured following the indentation process, the Rockwell hardness of the material is based on the difference in the depth of the indenter at two specific times during the testing cycle. The value of hardness is calculated using a formula that was derived to yield a number falling within an arbitrarily defined range of numbers known as a Rockwell hardness scale.
The general Rockwell test procedure is the same regardless of the Rockwell scale or indenter being used. The indenter is brought into contact with the material to be tested, and a preliminary force (formally referred to as the minor load) is applied to the indenter. The preliminary force is usually held constant for a set period of time (dwell time), after which the depth of indentation is measured. After the measurement is made, an additional amount of force is applied at a set rate to increase the applied force to the total force level (formally referred to as the major load). The total force is held constant for a set time period, after which the additional force is removed, returning to the preliminary force level. After holding the preliminary force constant for a set time period, the depth of indentation is measured a second time, followed by the removal of the indenter from the test material. The measured difference between the first and second indentation depth measurements, "h", is then used
to calculate the Rockwell hardness number. For many older models of Rockwell hardness machines , the operator must manually control most or all of the steps of the test procedure. Many of today's newer machines automatically perform the entire Rockwell test. |
|
|
| |
PORTABLE HARDNESS TESTING
Why portable hardness testing? Portable hardness testers have come of age since the late 90’s, with a vast offering of high tech, digital instrumentation. Small, compact and menu driven, these instruments have never been easier to use for unlimited types of applications.
There are two basic methods of portable hardness testing that is accepted in the field today.
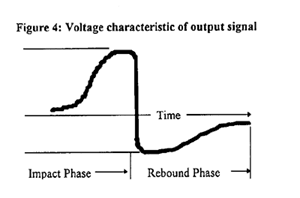
“Dynamic Impact” is based on the Leeb principle of hardness,developed by Dietmar Leeb in the 1970’s. A spring loaded impact body is thrust to the test surface, effecting rebound. The speed of both the initial thrust and the rebound is measured in a non-contact mode. This is calculated as a Leeb hardness value and then automatically converted to Rockwell C, B, Brinell, Vickers and Shore Values. It has effectually brought easy, fast and accurate results to portable hardness testing. |
 |
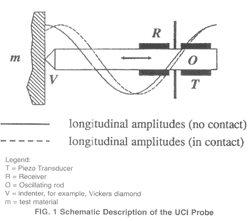
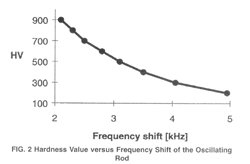
| “Ultrasonic Contact Impedance” is based on a 136 degree diamond at the end of a vibrating rod being depressed into the test surface at a fixed load. The difference in Ultrasonic vibration frequency is then calculated into a hardness value. The UCI test procedure is slower than the Dynamic Impact style, however the “UCI” method of hardness testing is portable, easy and accurate. It also has its own advantages when utilized for certain testing applications. UCI testers are not restricted to large mass items like dynamic type testers. These units can test metals as thin as 1mm and at a hardness value as low as 20HRC (75HB). They also excel at performing hardness tests on larger, harder metals as well. Another reason for the rise in popularity is due to the fact that the UCI method is categorized as “Non-Destructive”. That translates into less scrap parts/ lower mfg costs due to necessary inspections. |
 |
 |
Technical Data for Dynamic Impact Devices
| Impact Devices
→ |
D/DC/DL |
D+15 |
C |
G |
| Impact energy |
11Nmm |
11Nmm |
3Nmm |
90Nmm |
| Mass of the impact body |
5. 5g |
7. 8g |
3. 0g |
20g |
| |
DL: 7.3g |
|
|
|
| Test tip |
|
|
|
|
| * Hardness |
1600HV |
1600HV |
1600HV |
1600HV |
| * Diameter |
3mm |
3mm |
3mm |
5mm |
| * Material |
|
Tungsten |
Tungsten |
|
| * |
|
carbide |
carbide |
|
| Impact device |
|
|
|
|
| * Diameter |
20mm |
20mm |
20mm |
30mm |
| * Length |
147/86mm |
162mm |
141mm |
254mm |
| * Weight |
75/50g |
80g |
75g |
250g |
| Max. hardness of sample |
940HV |
940HV |
1000HV |
650HB |
| Preparation of surface |
|
|
|
|
| * Roughness class ISO |
N7 |
N7 |
N5 |
N9 |
| * Max. roughness depth Rt |
10 µ m |
10 µ m |
2.5 µ m |
30 µ m |
| * Average roughness Ra |
2 µ m |
2 µ m |
0. 4 µ m |
7 µ m |
| Min. weight of sample |
|
|
|
|
| * Of compact shape |
5kg |
5kg |
1.5kg |
15kg |
| * On solid support |
2kg |
2kg |
0.5kg |
5kg |
| * Coupled on plate |
0. 1kg |
0. 1kg |
0. 02kg |
0. 5kg |
| Min. thickness of sample |
|
|
|
|
| * Coupled |
3mm |
3mm |
1mm |
10mm |
| * Min. thickness of layers |
0. 8mm |
0. 8mm |
0. 2mm |
- |
| Indentation of test tip |
|
|
|
|
| With 300 HV |
|
|
|
|
| * Diameter |
0. 54mm |
0. 54mm |
0. 38mm |
1.03mm |
| * Depth |
24 µ m |
24 µ m |
12 µ m |
53 µ m |
| with 600 HV |
|
|
|
|
| * Diameter |
0. 45mm |
0. 45mm |
0. 32mm |
0. 90mm |
| * Depth |
17 µ m |
17 µ m |
8 µ m |
41 µ mC |
| with 800 HV |
|
|
|
|
| * Diameter |
0. 35mm |
0. 35mm |
0. 30mm |
- |
| * Depth |
10 µ m |
10 µ m |
7 µ m |
- |
|
Technical Data for UCI Hardness Tester
| Test Device |
U1
(UCI) |
| Length |
160mm |
| Diameter |
25mm |
| Indentation Depth |
30µm |
| Pressure Force |
14.7N |
| Transducer Test Life (approx) |
200,000 |
| Min. Thickness for test |
1mm |
| Min. Radius for Test |
5mm |
| Max Roughness of surface |
Ra 2.5µm |
| Max Archive |
100 Tests |
| Time of Test |
4 sec. |
|
Comparison of Hardness Testing Methods-Phase II Models shown below |
| Data |
Dynamic |
Ultrasonic |
Rockwell |
| Requirements |
|
|
|
| Surface Finish |
Smooth |
Smooth |
Smooth-Semi Rough |
| Rigid Support of Sample |
Yes |
Yes |
Yes |
| Test sample portability |
Not required |
Not required |
Required |
| Procedures |
|
|
|
| Structural Steel |
Functional |
Functional |
Functional |
| Heat Treated Steel |
Functional |
Functional |
Functional (HRC) |
| Case Hardened Material |
Functional |
Functional |
Functional (HRC) |
| Non-Ferrous Metals |
Functional |
Functional |
Functional (HRB) |
| Large Samples |
Yes |
Yes |
Restricted |
| Small Samples |
Restricted |
Yes |
Yes (w/proper scales) |
| Thin Samples |
Restricted |
Yes |
Restricted |
| Curved/Round Surfaces |
Yes |
Yes |
Restricted |
| Special Features |
|
|
|
| Automatic Test Procedure |
Yes |
Yes |
Yes |
| Direct Hardness Value |
Yes |
Yes |
Yes |
| Required Time for Avg/5 Tests |
Approx. 10 Sec. |
Approx. 20 Sec. |
Approx. 2 Minutes |
| Digital Display |
Yes |
Yes |
Some Models |
| Scale Conversions |
Yes |
Yes |
Some Models |
| Directional Testing |
Yes |
Yes |
No |
| Standardized by: |
ASTM |
ASTM |
NIST (HRC scale only) |
| Indentation Depth |
20µm |
30µm |
160µm |
| Operator Requirements |
|
|
|
| Skills Required |
Minimal |
Minimal |
Minimal |
| Possible Reading Error |
None |
None |
None |
| Instrument Features |
|
|
|
| Portability |
Yes |
Yes |
No |
| Power Supply |
Battery |
Battery |
Manual/110v |
| Output to PC |
Yes |
Yes |
Some Models |
|
| |
|
|
|
| |
 |
 |
 |
 |
 |
 |
 |
 |
| |
| HARDNESS TESTER RESOURCES |
|
|
|
|
|
 |
 |
 |
 |
 |
|
| |
|
| |